Topic 02 · Capture

Capture with a Plan

Capture is where you collect the evidence your story brief asked for. Plan from the edit backward: if you know which cut you want to make, you know which shots, sounds and safety copies you need on the day.

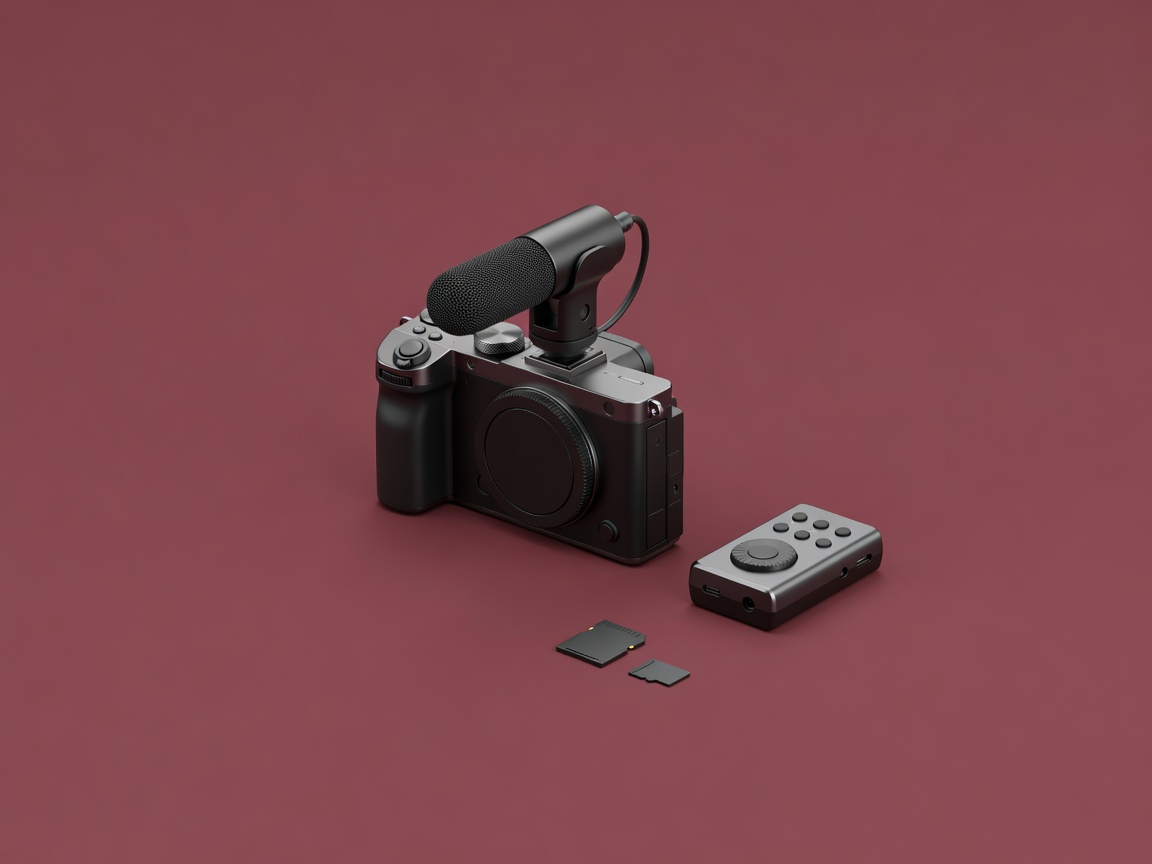
Soft-lit 3D render of a compact field kit with a mirrorless camera, shotgun microphone, field recorder and two memory cards on a plain aubergine background
Render · compact field kit
Capture 01 · Coverage

Shoot for the cut, not for the moment

Coverage means filming the same action from enough angles that the editor has choices. The minimum useful set is a wide shot to establish where we are, a medium shot for the action and a close-up for detail. Add cutaways, short shots of hands, objects and surroundings, so you can bridge edits in interviews without visible jumps.

Hold every shot for eight to ten seconds and start recording a couple of seconds before the action. Those extra seconds, called handles, give the editor room for transitions and J-cuts. Photographers can use the same thinking: shoot an establishing frame, a detail, a portrait and an interaction for every scene, so a photo essay has rhythm instead of twelve similar medium shots.

  • Wide, medium and close for each must-have beat
  • At least five cutaways per interview
  • Two seconds of handle before and after action
  • One shot that shows scale: a person beside the object
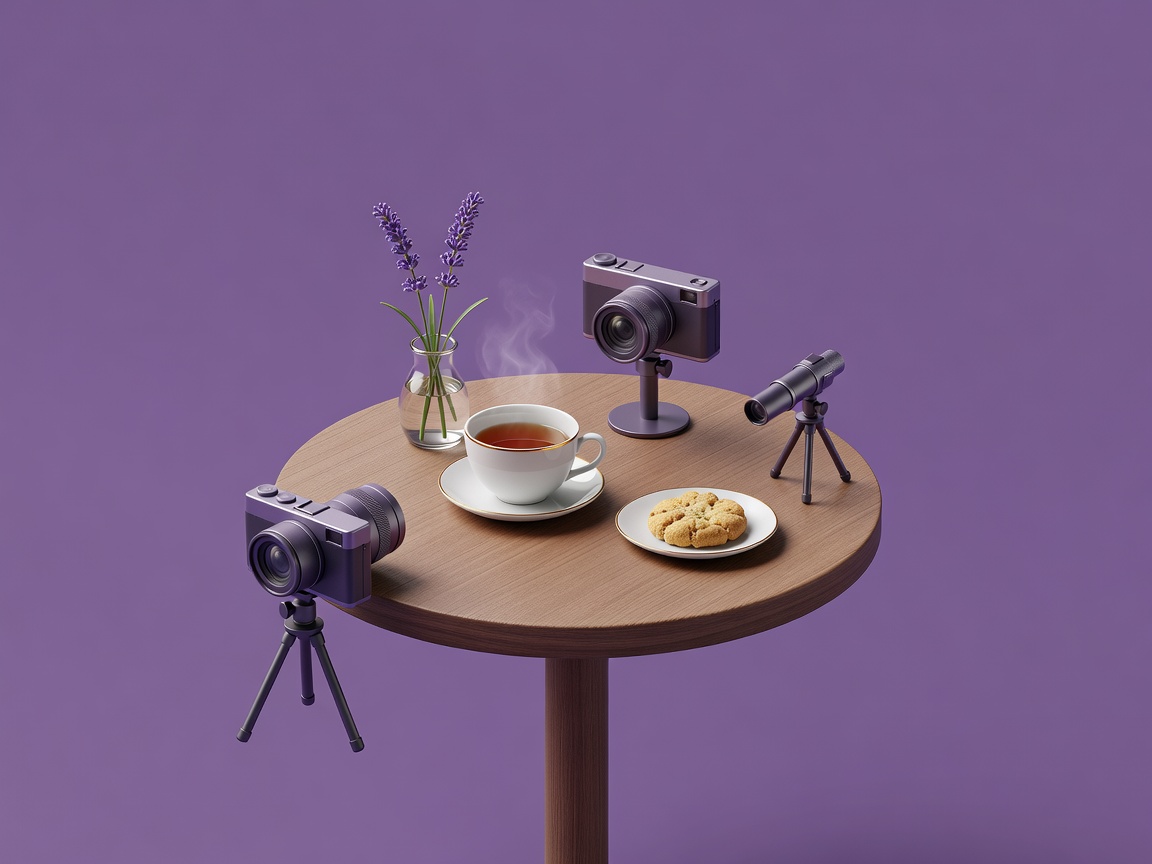
Soft-lit 3D render of a small table scene viewed by three miniature cameras positioned for wide, medium and close-up angles on a plain purple background
Render · three-angle coverage
Capture 02 · Exposure

Exposure without guesswork

Three settings control brightness. Aperture is the size of the lens opening; it also controls depth of field, the zone that looks sharp. Shutter speed is how long each frame is exposed. ISO is how much the sensor signal is amplified; higher ISO brightens the image but adds noise.

For video, the 180° shutter rule sets shutter speed at roughly double the frame rate: 1/50 s at 25 fps, 1/60 s at 30 fps. That gives the motion blur audiences expect. Outdoors, this often means too much light, so use a neutral density (ND) filter, which darkens the image without changing colour, rather than raising the shutter speed.

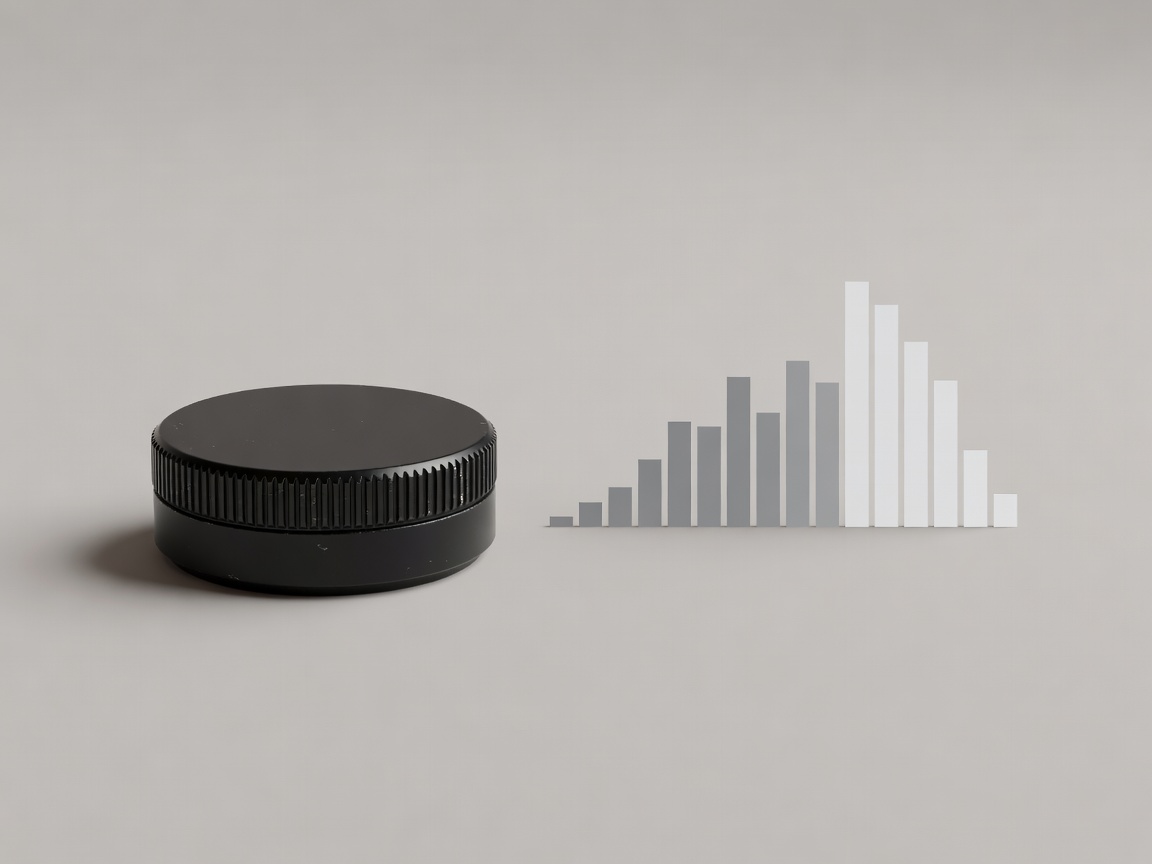
Judge exposure with tools, not the rear screen. A histogram shows how many pixels sit at each brightness; zebras stripe areas close to clipping. Raw photographs and log video profiles preserve more highlight and shadow detail, but both look flat and must be processed. If you will not grade, a well-exposed standard profile is the faster choice.

Soft-lit 3D render of a camera top dial beside a simplified conceptual histogram graphic, shown as an illustration rather than a real camera menu
Conceptual illustration · not a real camera interface
Capture 03 · Sound

Sound is half the picture

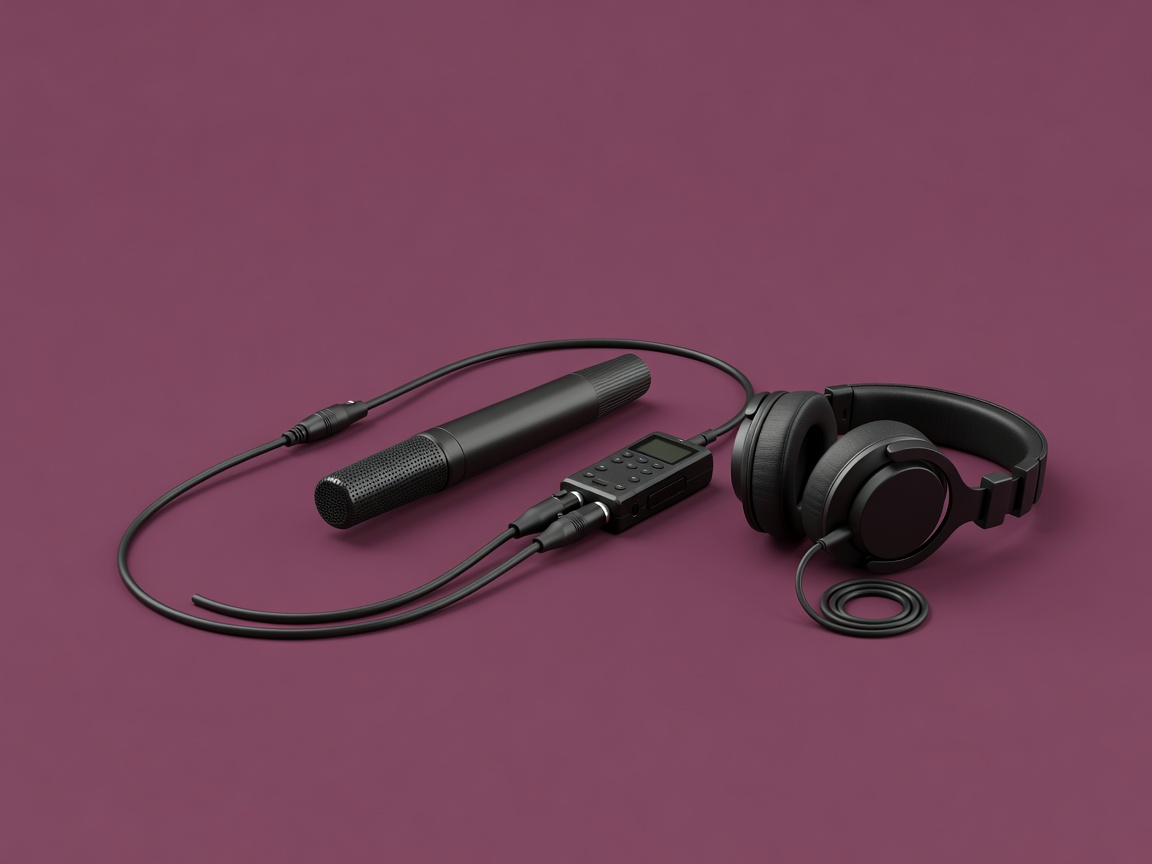
Microphone distance matters more than microphone price. Halving the distance to the speaker makes the voice far louder relative to the room. Choose the mic type for the situation: a dynamic microphone such as the Shure SM7B rejects room sound well for voice recording at a desk; a shotgun microphone such as the Rode NTG series picks up mostly what it points at; a lavalier clips to clothing for consistent interview sound.

  1. Microphone
  2. XLR cable
  3. Preamp / recorder
  4. Card
  5. Ingest

Monitor with closed-back headphones the whole time. Aim for dialogue peaks around −12 dBFS, leaving headroom for laughter or a raised voice. Some recent field recorders, such as the Zoom F3, record 32-bit float audio, which is very hard to clip, but it cannot fix a microphone pointed at the wrong person. Before you leave every location, record thirty seconds of silence in the room. This “room tone” fills gaps in the dialogue edit.

Soft-lit 3D render of a shotgun microphone connected by an XLR cable to a small field recorder and headphones on a plain aubergine background
Render · microphone to recorder chain
Capture 04 · Photography

A photography workflow you can repeat

  1. Ingest and rename
  2. Back up
  3. Cull with ratings
  4. Develop non-destructively
  5. Export per use

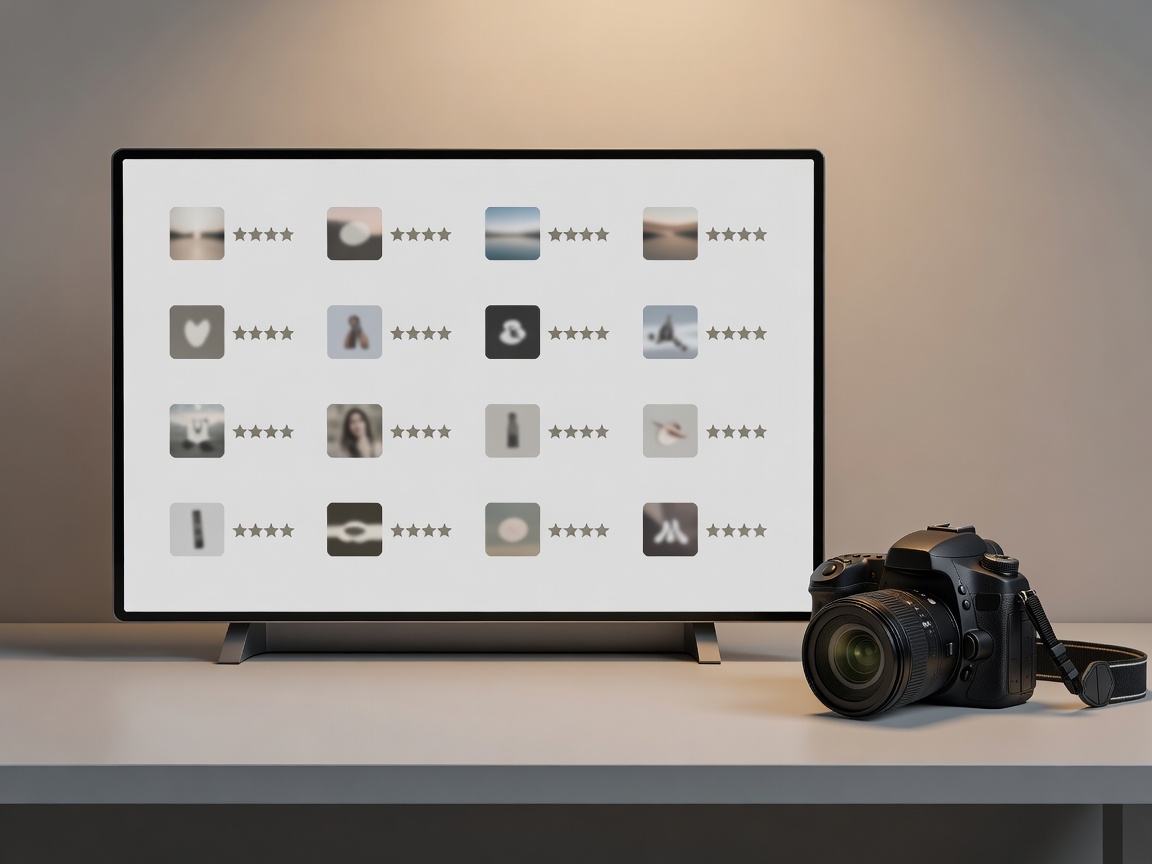
Rename files on ingest using a date and project pattern such as 2026-03-14_bakery_0001. Back up before you look at a single frame. Cull in two passes: reject the obviously unusable, then rate the rest. Develop in a non-destructive editor like Lightroom Classic, Capture One or the open-source darktable. These store edits as instructions, often in XMP sidecar files, so your original raw file never changes. Export separate versions for web, print and archive rather than one compromise file.

Soft-lit 3D render of a monitor showing a simplified conceptual grid of photo thumbnails with star ratings beside a camera, not a real software screenshot
Conceptual interface · not a screenshot of any specific software
Capture 05 · Data safety

Protect the footage before you leave

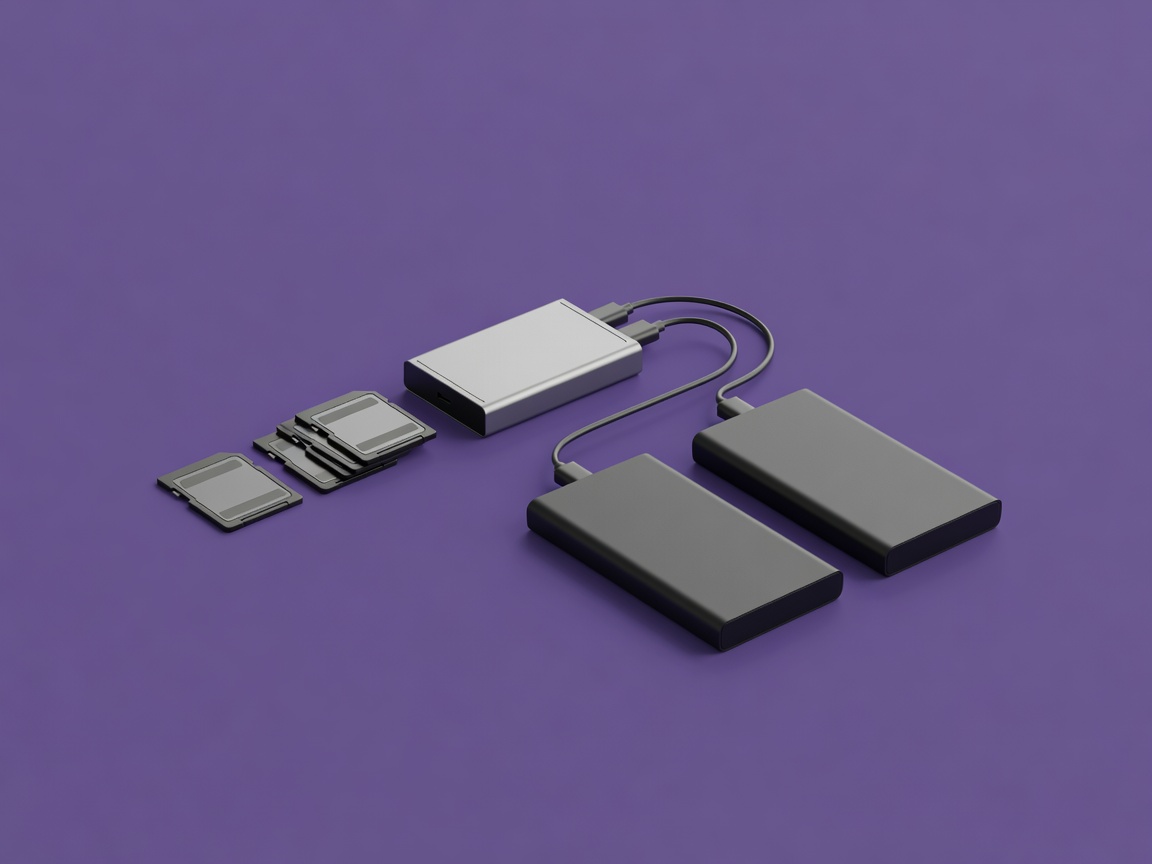
The 3-2-1 rule, popularised by photographer Peter Krogh in The DAM Book, means three copies, on two kinds of storage, with one kept off-site. On location, at least get two verified copies before reformatting any card. Use a copy tool that checks checksums, a digital fingerprint that confirms the copy matches the original; DaVinci Resolve’s Clone tool is one free option.

  • Number every card and log what was shot on it
  • Copy to two drives with checksum verification
  • Never reformat a card until both copies are verified
  • Move one copy off-site within 48 hours
Soft-lit 3D render of numbered memory cards beside a card reader connected to two portable SSD drives on a plain purple background
Render · verified card ingest