Topic 03 · Editing

Editing into Meaning

The edit is where your evidence becomes a story. Software matters less than the order of decisions: structure first, then rhythm, then polish. Here is a sequence you can repeat on every project, whatever editor you use.

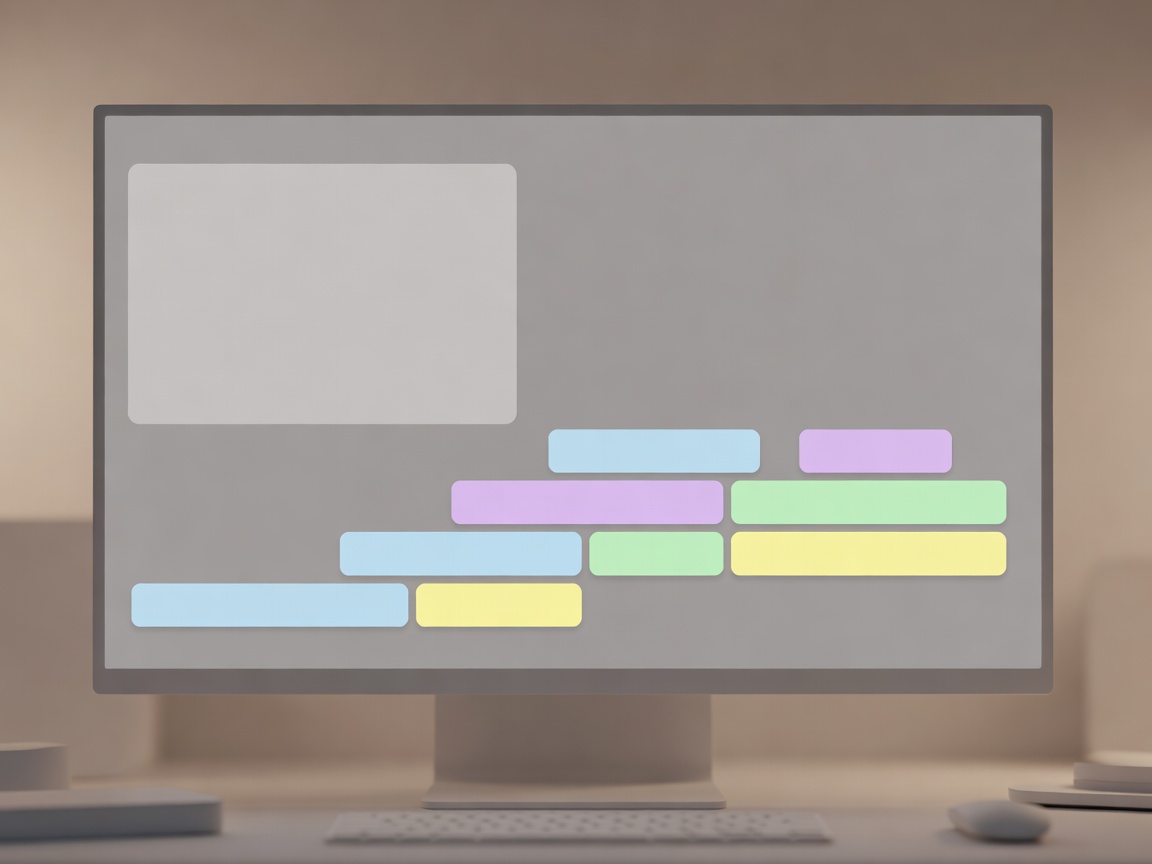
Soft-lit 3D render of a monitor showing a simplified conceptual editing workspace with a viewer and coloured timeline blocks, not a real software screenshot
Conceptual interface · not a screenshot of any specific software
Edit 01 · Passes

Work in passes

  1. Organise
  2. Assembly
  3. Rough cut
  4. Fine cut
  5. Picture lock
  6. Sound & colour

Organise footage into bins by beat from your story brief, and transcribe interviews; searching text is faster than scrubbing video. The assembly places every usable take in story order, usually far too long. The rough cut removes everything the outcome does not need. The fine cut adjusts timing frame by frame.

Picture lock means no more changes to the timing of shots. It matters because sound mixing and colour grading depend on fixed timing; change the picture afterwards and you redo that work. Even solo, declare picture lock out loud and stick to it.
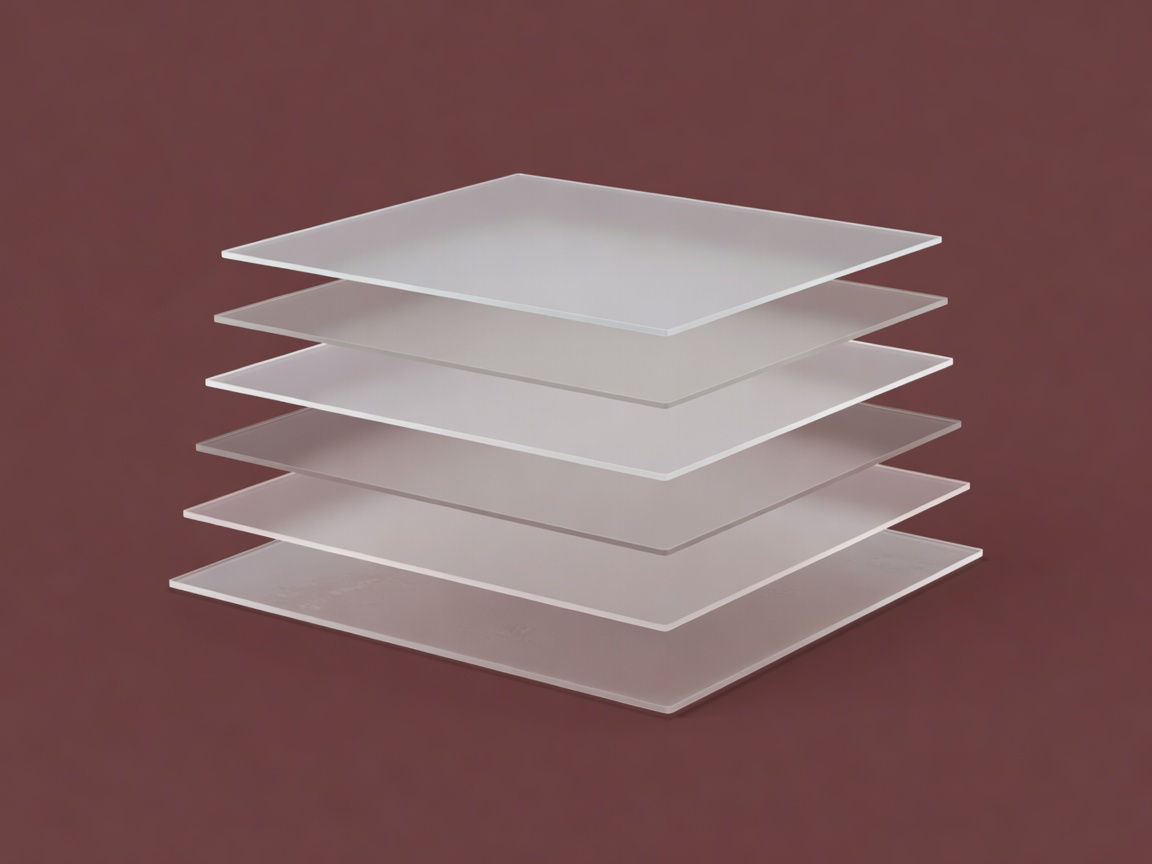

Soft-lit 3D render of six translucent layers stacked in order, illustrating editing passes from assembly to final mix, on a plain aubergine background
Render · editing passes as layers
Edit 02 · Priorities

Decide by emotion first

In In the Blink of an Eye, editor Walter Murch proposes a “Rule of Six” with weights showing what an ideal cut should serve. When you cannot satisfy everything, give up the items at the bottom first.

CriterionWeightQuestion to ask
Emotion51%Is this how the viewer should feel now?
Story23%Does it move the story forward?
Rhythm10%Is the cut at the right moment?
Eye-trace7%Is the viewer looking where the new shot needs them?
2D plane5%Is screen direction respected?
3D space4%Are physical positions consistent?

A small continuity error in a moving moment rarely bothers anyone. A technically perfect cut that kills the feeling always does.

Soft-lit 3D render of six bars of decreasing height illustrating relative editing priorities, on a plain purple background
Render · weighted editing priorities
Edit 03 · Cut types

Cuts that carry meaning

Each cut type does a specific job. Open the examples to see when to use them.

J-cut: sound leads the picture

The audio of the next shot starts before its picture. Use it to pull the viewer into a new scene: we hear the workshop machinery while still looking at the street outside.

L-cut: picture moves on, sound lingers

The speaker’s voice continues over a new image. Use it to show what someone is describing as they describe it, and to soften interview edits.

Match cut: two shots linked by shape or motion

A spinning pottery wheel cuts to a spinning vinyl record. Use sparingly to connect two ideas the audience should compare.

Cutaway: covering an edit

Cut to hands, objects or a listener while the dialogue edit happens underneath. Plan these during capture; you cannot invent them later.

Jump cut: deliberate discontinuity

Removing time within one shot creates a visible jump. Used on purpose, it compresses a long process; used by accident, it looks like an error. Decide which you mean.

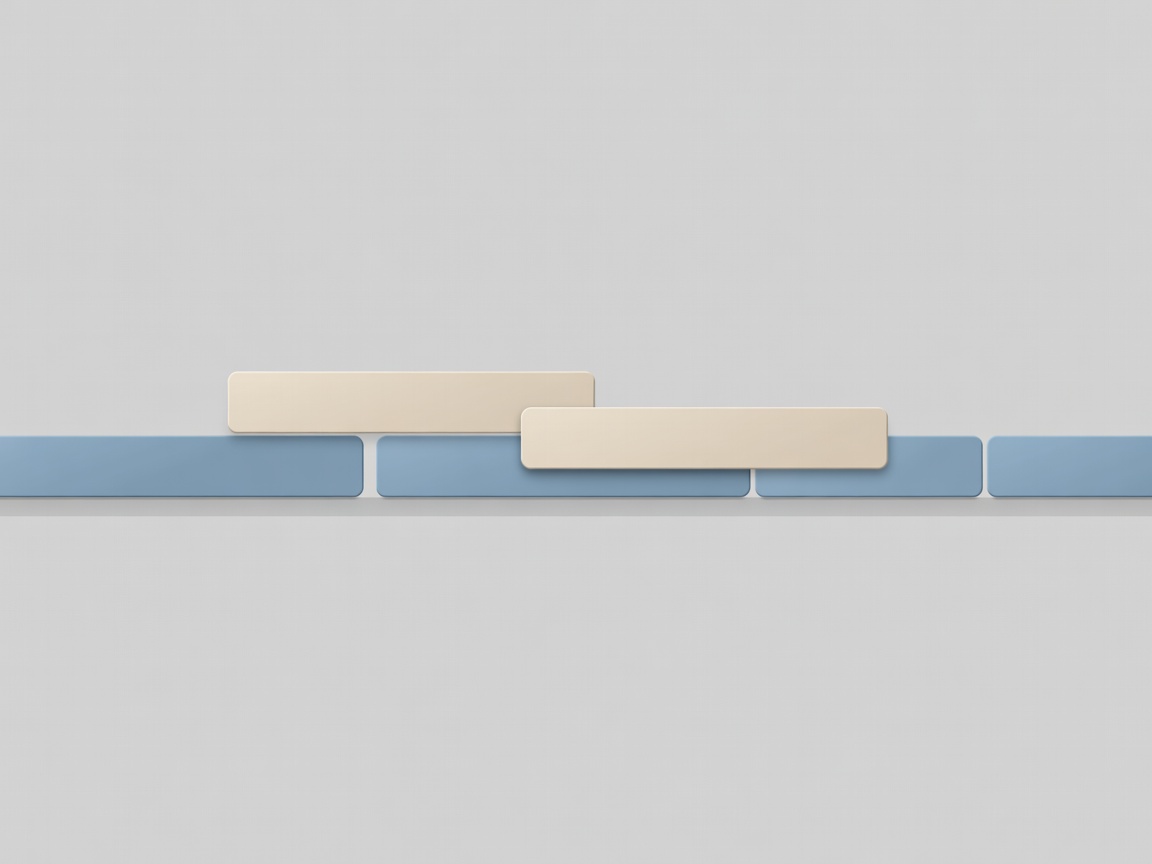
Soft-lit 3D render of a simplified conceptual timeline where audio blocks overlap video blocks to illustrate J-cuts and L-cuts, not a real software screenshot
Conceptual interface · J-cut and L-cut overlaps
Edit 04 · Sound

Sound in the edit

Clean dialogue first, then add music and effects. Fill every gap left by removed words with the room tone you recorded, so the background never drops to dead silence. Lower music under speech, a technique called ducking, until every word is clear on phone speakers.

  • Dialogue edited and gaps filled with room tone
  • Music ducked under speech
  • Loudness measured with a LUFS meter
  • Final check on headphones and on a phone speaker

LUFS (Loudness Units relative to Full Scale) measures perceived loudness over time. Broadcasters following EBU R128 target −23 LUFS; many streaming platforms normalise near −14 LUFS, and podcasts are commonly mixed around −16 LUFS.

Soft-lit 3D render of closed-back headphones resting beside a simplified conceptual loudness meter display on a plain aubergine background
Conceptual illustration · loudness metering
Edit 05 · Colour and performance

Correct, then grade

Colour correction fixes problems: neutral white balance, matched exposure between shots. Grading creates a look on top of that. Always correct first. Use scopes rather than your eyes: the waveform shows brightness, the vectorscope shows colour direction and saturation. For standard HD delivery, the target colour space is Rec.709.

A LUT (lookup table) converts colour values from one set to another, for example from a camera’s log profile to Rec.709. Treat a LUT as a starting point, not a finished grade.

If playback stutters, create proxies: small, easy-to-decode copies of your footage for editing. The editor links back to the full-quality originals for export. It is the cheapest performance upgrade there is.

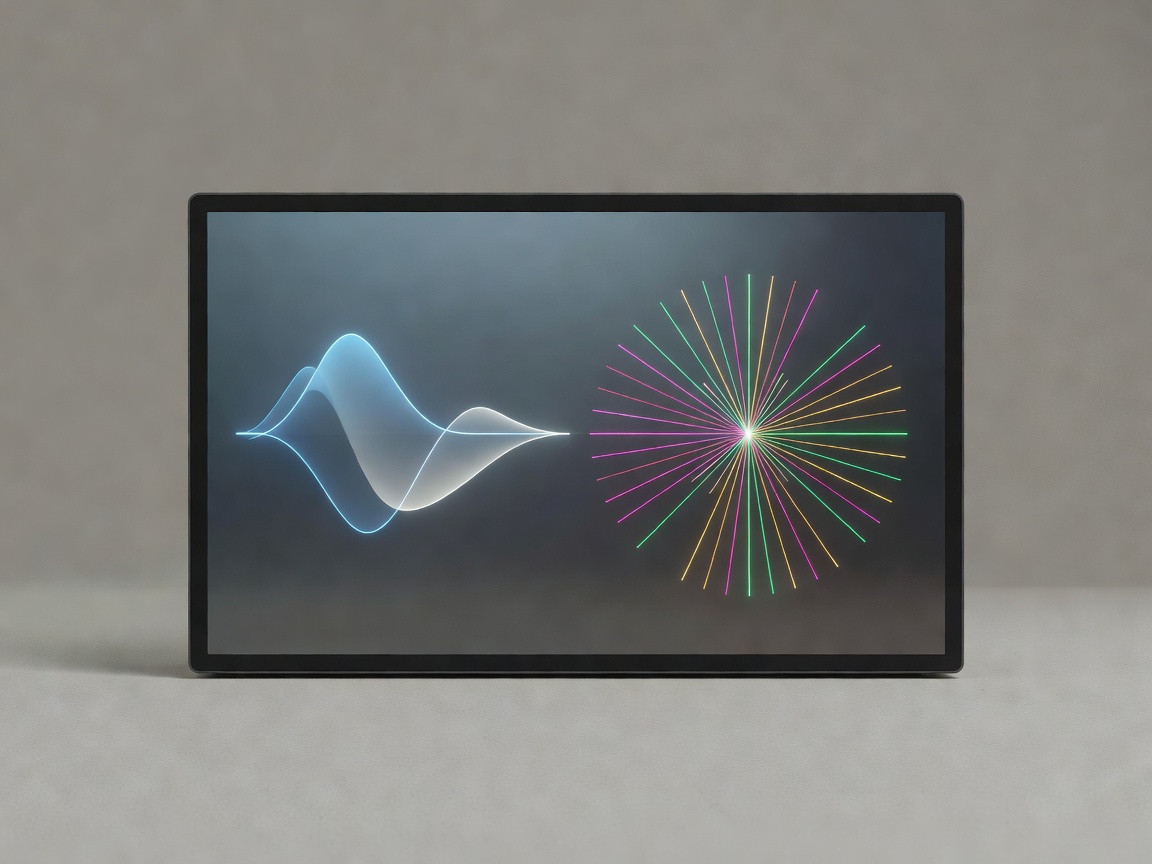
Soft-lit 3D render of a simplified conceptual waveform and vectorscope display on a small monitor, not a real software screenshot
Conceptual interface · colour scopes