Topic 01 · Story design

Story Before Software

Most stalled projects are not stalled by gear. They stall because nobody decided who the story is for or what it should change. This page gives you a repeatable way to make that decision before you charge a single battery.

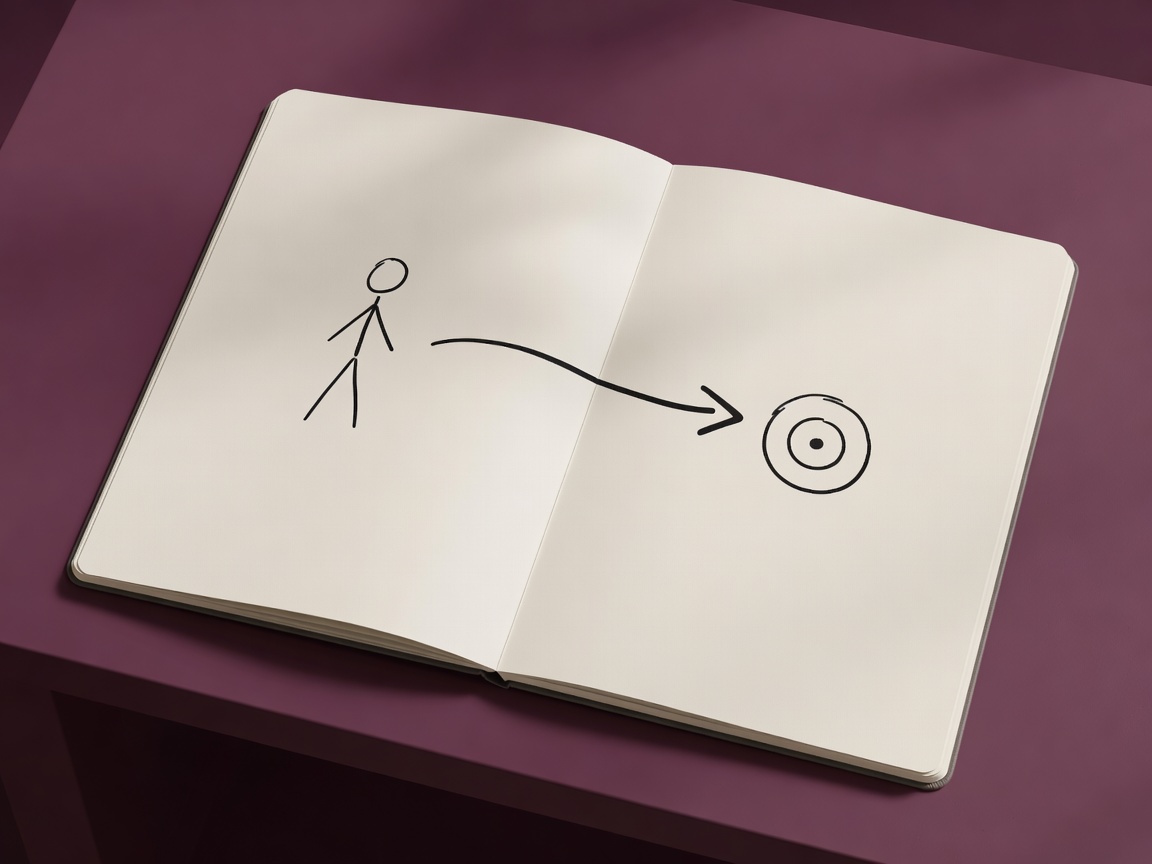
Soft-lit 3D render of a notebook showing a hand-drawn arrow from a simple audience figure to a target symbol, on a plain aubergine desk
Render · audience to outcome
Step 01

Write a one-page story brief

A story brief is a single page you can read in a minute. It keeps everyone on the production, even if that is only you, answering the same question during capture and editing. Fill it in before you plan a single shot.

  1. Audience: who exactly
  2. Outcome: what they know, feel or do afterwards
  3. Promise: what the opening signals
  4. Evidence: proof each point needs
  5. Constraints: length, budget, deadline, format

Be specific about the audience. “Everyone” gives you no editing decisions. “Volunteers at a community garden who have never used a pressure washer” tells you the vocabulary to use, the pace to keep and which steps you can skip.

Make the outcome observable. Instead of “inspire people”, write “viewers can name the three stages of the restoration and understand why the second one took a year”. You can test an observable outcome: show a rough cut to one person from the audience and ask them to tell the story back to you. If they cannot, the edit has not done its job yet, regardless of how good it looks.

The promise is the contract you make in the first seconds or the first image. A tutorial promises a result; a portrait promises a person worth meeting. Every later choice should keep that promise.
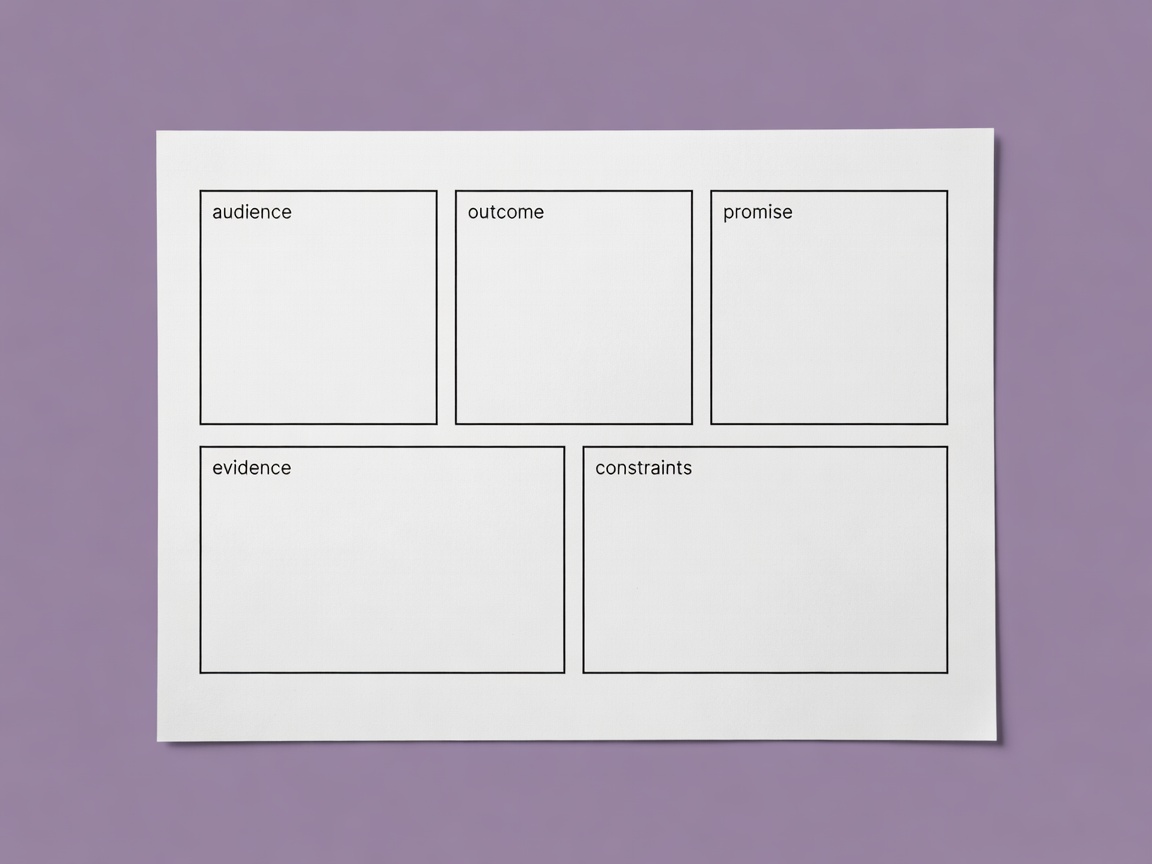

Soft-lit 3D render of a single printed page with five labelled boxes for audience, outcome, promise, evidence and constraints, on a plain purple background
Render · one-page brief template
Step 02

Choose a structure that fits the job

Structure is a container for your evidence, not a formula. Pick the shape that matches what the audience needs, then test it against the outcome in your brief.

StructureHow it movesGood forWatch out
Three-actSetup, confrontation, resolutionDocumentary shorts, profilesA sagging middle
Story spine“Once upon a time… every day… until one day… because of that… until finally…”Personal stories, character-led explainersEndings that are too neat
KishōtenketsuIntroduction, development, twist, reconciliation; no central conflict neededPhoto essays, observational piecesA twist that surprises but does not reframe
Problem, attempt, resultA problem, honest attempts, what happenedTutorials, build logs, reviewsHiding the failed attempts

The story spine began as an improvisation exercise by Kenn Adams and became widely known after Pixar storyboard artist Emma Coats shared it in her list of storytelling rules. Kishōtenketsu comes from classical Chinese and Japanese composition and suits stories built on contrast rather than conflict.

Soft-lit 3D render of four stacked blocks of different heights representing beginning, development, turn and ending on a plain aubergine background
Render · structure as stacked beats
Step 03

Turn the brief into a shot and sound list

For each point the audience must understand, ask: what would prove this on screen or in their ears? Write the answer as a beat list with visual evidence, sound evidence and a priority. This is where you discover that a story about a repair café needs the sound of a working toaster far more than a drone shot.

Plan shots in pairs, not alone. In experiments in the 1920s, Soviet filmmaker Lev Kuleshov showed that audiences read the same neutral face differently depending on the shot placed next to it. The meaning of an image depends on its neighbour, so plan what comes before and after your key moments.

Worked example: a four-minute neighbourhood bakery profile

Audience: residents who walk past but have never gone in. Outcome: they know the bakery starts at 4 a.m., uses one family recipe and sells out by noon.

Beats: dark street at 3:55 a.m. (must-have) · lights on, oven sound (must-have) · hands shaping dough, close (must-have) · baker explains the recipe’s origin (must-have) · queue at 9 a.m. (nice-to-have) · empty shelves at noon, sign flipped (must-have).

Mark every beat “must-have” or “nice-to-have”. On a long shoot day, the must-haves get filmed first.

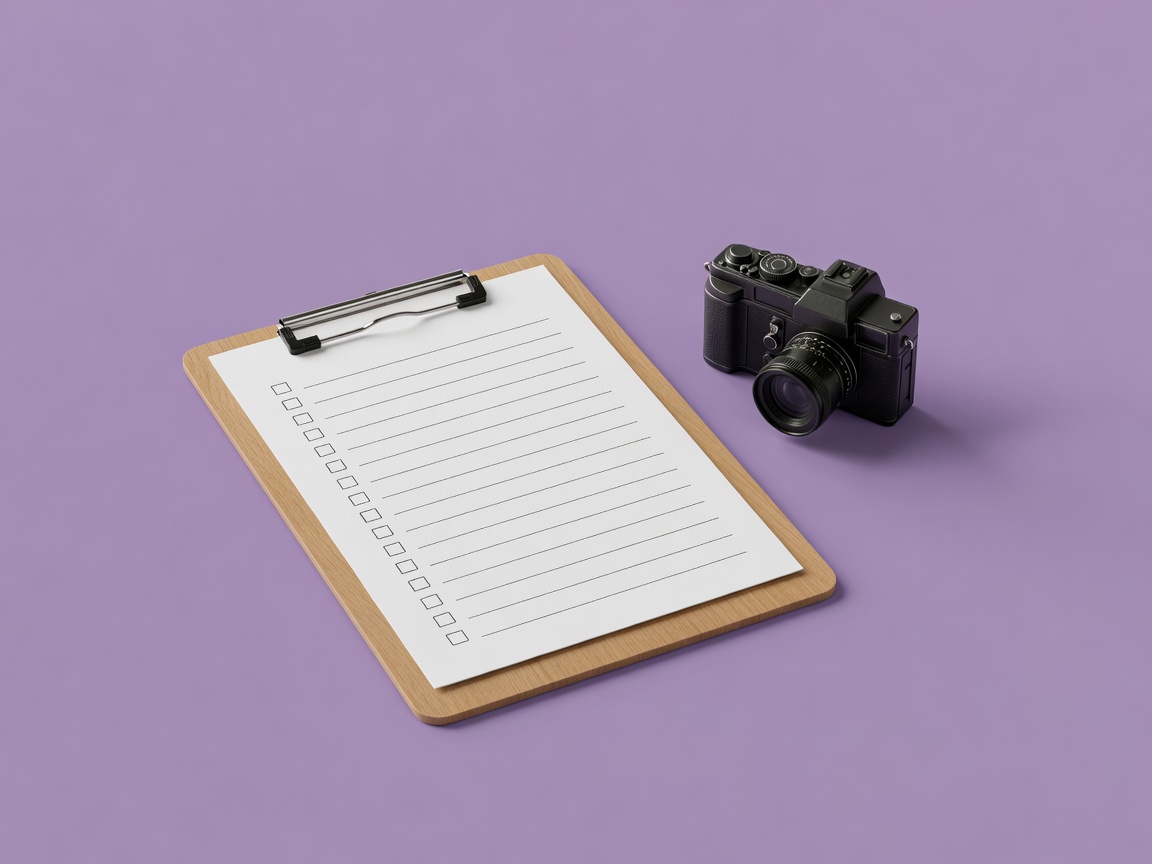
Soft-lit 3D render of a clipboard holding a printed shot list with tick boxes, beside a small camera on a plain purple background
Render · beat list on a clipboard
Step 04

Answer these before you buy anything

Buying a tool feels like progress. Often it is a way of postponing a decision. Before spending money, work through this list. If you cannot answer a line, the purchase will not save the project.

  • Can I state the audience and outcome in one sentence?
  • Does my beat list name a shot I physically cannot capture now?
  • Have I tried the free fix: moving closer, changing location, better light from a window?
  • Will this tool be used on the next three projects, not just this one?
  • Does the purchase remove a step from my workflow, or add one?

When the list points to a real gap, take it to the capture and tools pages, where gear is matched to problems rather than to wish lists.

Soft-lit 3D render of a near-empty desk with a notebook, pencil and a single phone on a plain purple background
Render · plan first, gear later